Electric vehicles are gaining more popularity by the year, with Tesla being one of the most popular choices. Installing a Tesla home charger has many advantages over just using your 220V/240V output since it charges your car much faster. In this article, we will cover the available options and the cost of installing one.
Charging a Tesla
There are multiple ways of charging a Tesla. Here we will break them down into 3 levels, depending on the power outlet, so you can see which one will suit your needs the most.
Level 1 – 110V
Every new Tesla comes with a trickle adapter, so you can plug it into any 110V outlet and charge your car. The big downside of this way of charging is that you only get 3 miles per hour charged, so for your battery to be fully charged it could take up to 40 hours. This could be a viable option for drivers who don’t take to the road too often.
Level 2 – 240V
This is by far the best option for home charging. In comparison to trickle charging it is approximately 15 times faster, and you can get a full charge overnight. There are three factors, however, that determine the time of charging.
- The maximum power output of the charger
There are various types of chargers and they all pull different amounts of electrical current through the electrical circuit. They range from 3.3 – 17.2 kW which translates into 10 – 52 miles per hour charged.
- The maximum power intake of the batteries
Depending on the model of Tesla you own, this will either be 11.5 kW or 17.2 kW. A model S standard variant has an intake of up to 11.5 kW and you can get up to 32 miles per hour charged, and a variant with a High Amperage Charger can receive up to 17.2 kW which will get you up to 50 miles per hour charged.
- The maximum current capacity of your breaker box
A standard breaker box can tolerate up to 200 amps of electrical current, which is enough if you have a standard variant of Tesla. If you want to install a 17.2 kW high amperage charger, you might need to upgrade to a 400 amp box.
Level 3 supercharger– 400V
Ok to be completely frank, it would be just plain stupid to install this at your home. The combined cost of the charger itself and the additional amount of energy needed to power the supercharger would be a colossal waste of money with no real benefits. Even if it does charge the battery from 0-80% in just 30 minutes, using a supercharger as a primary means of charging drastically shortens the life of the battery.
There are plenty of superchargers in public charging stations, and you will use them only on rare occasions if you already have a level 2 home charger.
What Should I Know about Tesla Charger Installation?
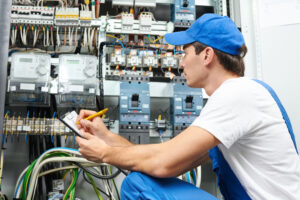
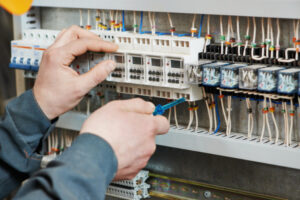
The first thing you’re wondering is probably, can I install a charger myself? Well if you are a professional electrician yes you can, but if you’re not experienced with electrics and wiring it’s not recommended. In principle it’s just running a cable to the designated area where you want your charger, however, you might have to run the cable through the ceiling, do lots of drilling or even change the complete breaker box if the charger requires more power. So all in all, it’s best to hire a certified electrician, since any mistakes can be quite costly.
Tesla Home Charging Options
Use dryer outlet for charging
If you have a 230V (NEMA 10-50, NEMA 14-50, etc…) outlet in your home, which is mainly used for connecting dryers, you can buy an adapter directly from tesla for any type of NEMA outlet that you have in your home. The charging time with this option is much greater than with a 110V outlet, and it charges up to 30 miles per hour. Another very convenient gadget that you can get is a NeoCharge splitter, so you can plug in both the drier or another appliance and the adapter in the outlet. This way you do not need to unplug the dryer when you want to charge your car or vice versa, since the splitter will automatically pause the charging of the car if you turn on the dryer.
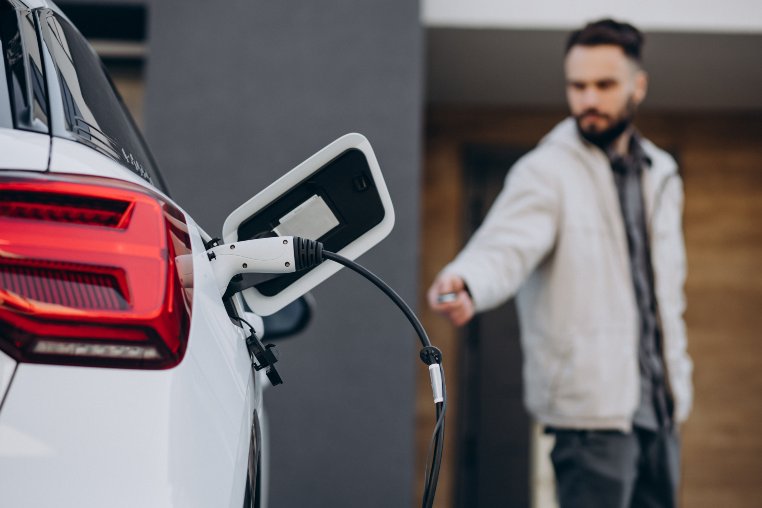
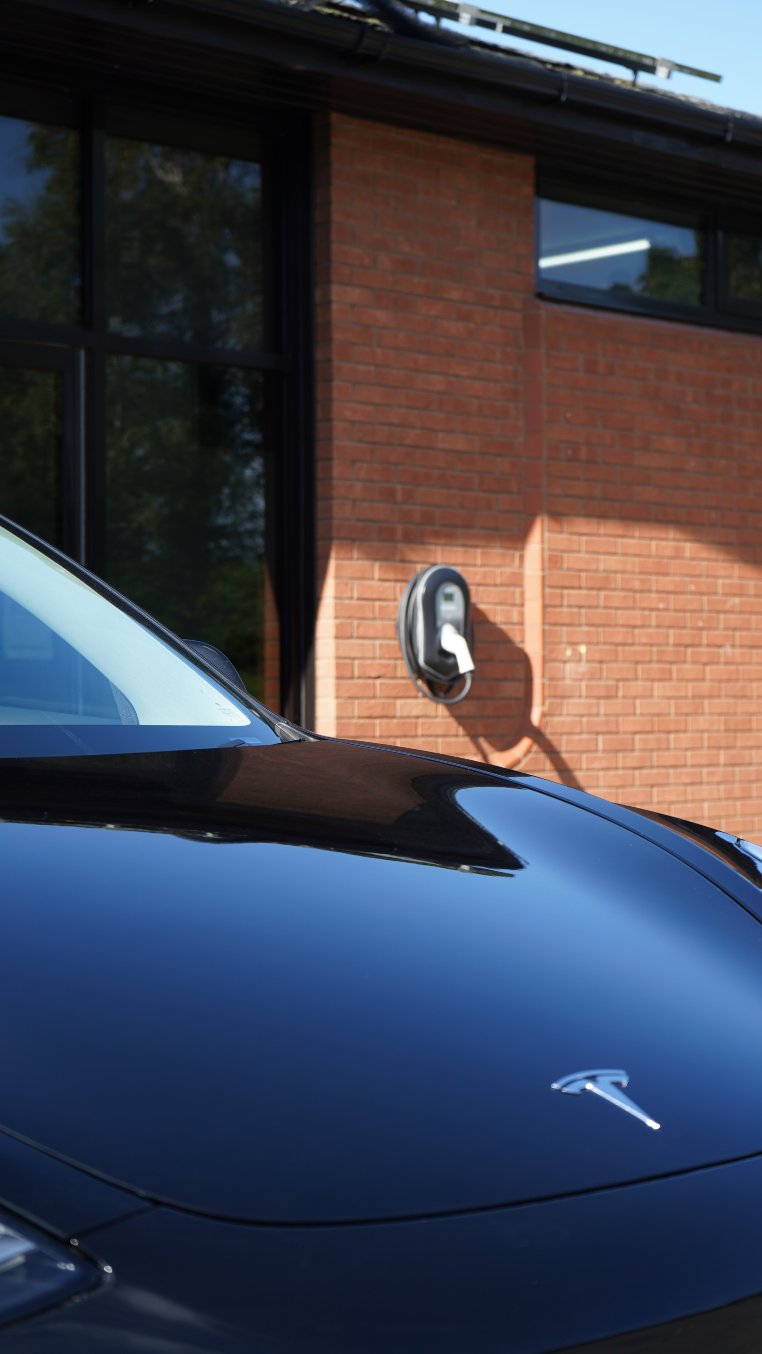
Wall connector
A Tesla wall connector is the most convenient and fastest way to charge your car. You can install it on the wall of your garage, or outside on a pedestal that is also available from Tesla. Its charging capacity is up to 44 miles per hour. The wall connectors also have a power-sharing option, so if you are charging more than one car the power is distributed evenly between the cars without overloading your circuit breaker.
How Much Does a Tesla Home Charger Cost?
Several factors affect the price of the charger unit, such as the power output of the unit, and depending on your location the costs may also vary. Most units cost from 300$ to 900$, however, you will probably be able to get one for around 500$ that will suit your needs. The cheapest options have a slow charge time, and they won’t be enough for most drivers. Also, the pricier options might be more than you require. So before heading out and buying a charger, do the math, calculate how many miles you travel on average, and get the one that is the most optimal for your needs.
Some Additional Costs
Labor
Apart from the unit itself, you will most likely need to hire a licensed electrician. You might need to make modifications to your garage, which will further increase the cost besides just connecting the charger to your home electrical system. Depending on the amount and the complexity of the work the cost can range between few hundred to several thousand dollars.
New Circuit
Unless you already had an appliance that you don’t use anymore, your electrician will have to install a specific circuit for your home charger. With this you will get an additional switch at your breaker panel, so you can turn it off if something goes wrong with the system.
Another thing that can increase the cost, is your breaker panel itself. If you live in an older home you might have a 100-amp box. If this is the case, you would do well to upgrade it to a 200-amp box, since the charging time will be much lower with a smaller box.
NEMA Adapter
If you opt for a non-Tesla charging station, you will also need to invest in an adapter, which will cost you from 35$ – 100$ depending on the type of adapter that is needed.
Cable Organizer
This accessory might not seem that important, but keeping your cables tidy doesn’t only look nice, but also protects them from wear and tear. The cost of the organizer ranges from 15$ to 35$.
Trench
If you want to go the extra mile in being tidy, you can hide the wires from view in underground trenches. However, this can be quite pricy since it requires much more labor and materials.
Permit
Depending on your location and the local code, you might have to acquire a permit to install the wall charger. Consult your electrician beforehand, because, most likely, they’ll help you sort it out and include it in the original cost.
Cost summary
If you decide on a standard Tesla home charger, and your breaker box isn’t far away from your charger the cost of the whole installation probably won’t exceed 1500$. It may seem pricey for just a charger, but it will improve your EV driving experience tenfold.
Who Does Tesla Charger Installation?
If you are installing a level 2 Tesla charger, it’s best to get in touch with a certified electrician to get an evaluation of your electrical system and get a cost estimate. Depending on the complexity of the installation, the cost may vary greatly.
If you need a level 3 Tesla supercharger, it would be best to find EV charger contractors, who have experience with these types of installations. The best way to find them is to contact Tesla and get a list of contractors at your location.